Note: This method utilizes PowerShell commands which work only when the Hyper-V feature is enabled. You need to activate Hyper-V on your PC to proceed.
To Automatically Mount VHD or VHDX File on Startup in Windows 10,
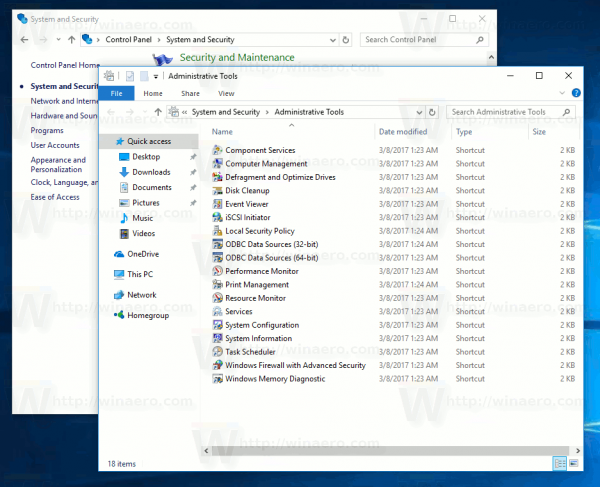
- Open Administrative Tools.
- Click the Task Scheduler icon.
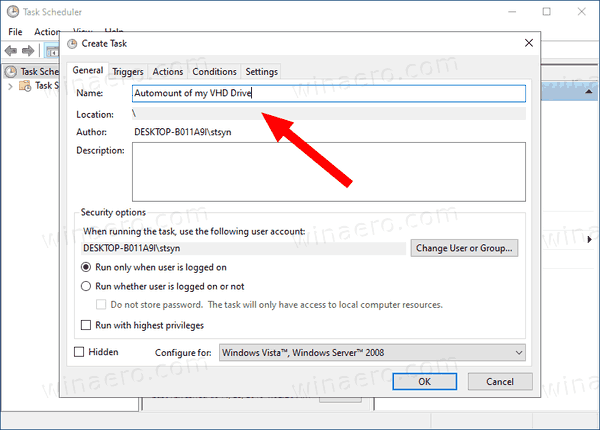
- In the Task Scheduler library, click on the Create Task… link on the right.

- In Create Task dialog, fill in the Name box some meaningful text like “Automount of my VHD Drive”.
- Set the options as follows:
– Configure for Windows 10.
– Run whether user is logged on or not
– Run with highest privileges box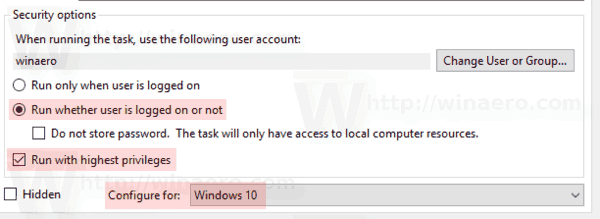
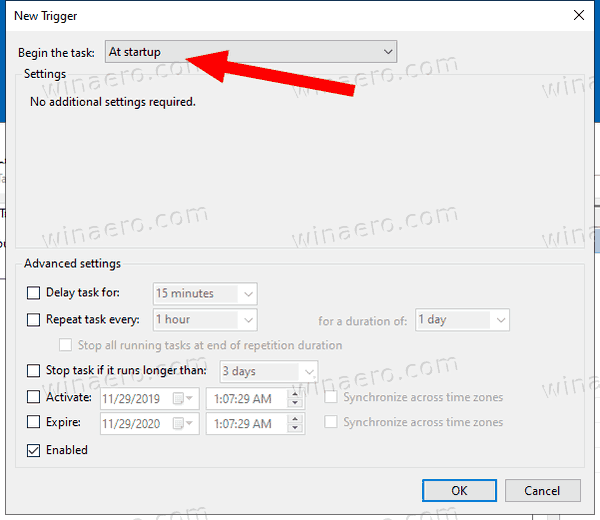
- Switch to the Triggers tab and click on the New… button.
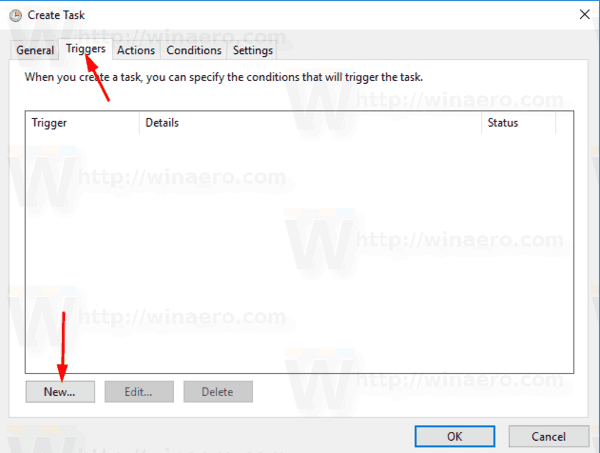
- Set the Begin the task option to At startup.
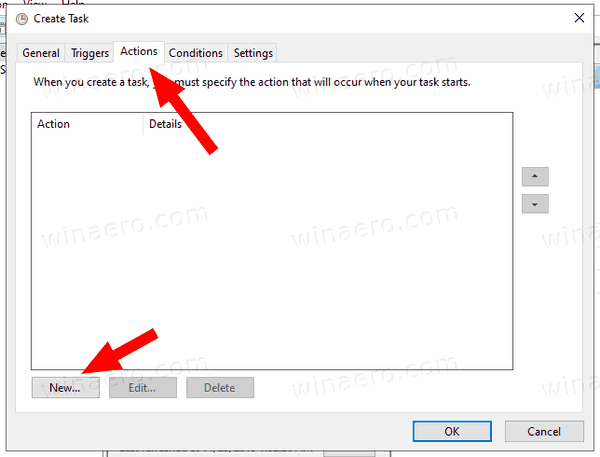
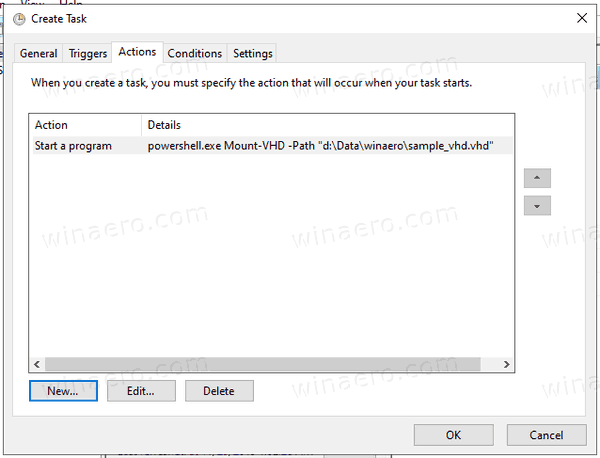
- Select to the Actions tab, and click on the New button.
- In the Program/script text box type
powershell.exe.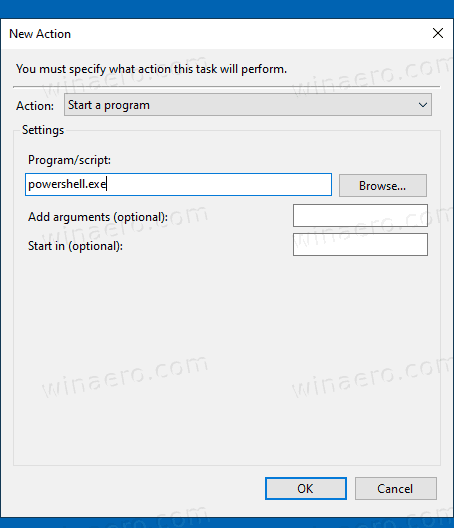
- Type the following in the Add arguments text box:
Mount-VHD -Path "Full\path\to\your\VHD or VHDX\file". Change theFull\path\to\your\VHD or VHDX\fileportion to the actual full path of the VHD/VHDX file you want to have automatically mounted at startup.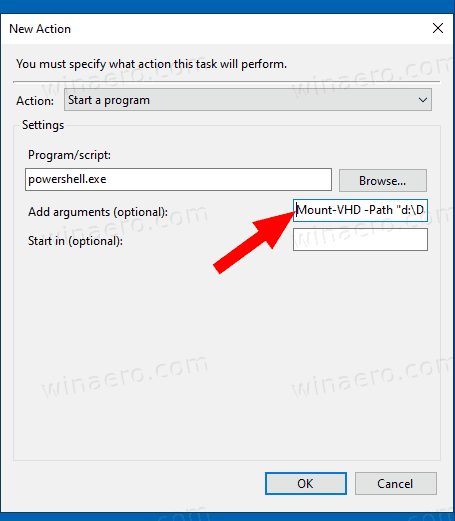
- Switch to the Conditions tab and disable the option Start the task only if the computer is on AC power.
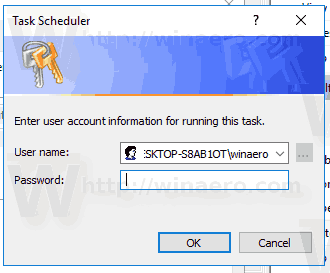
- Click on the OK button to create the task.
- Type your user account password (or other administrative user account credentials).
You are done!
Notes:
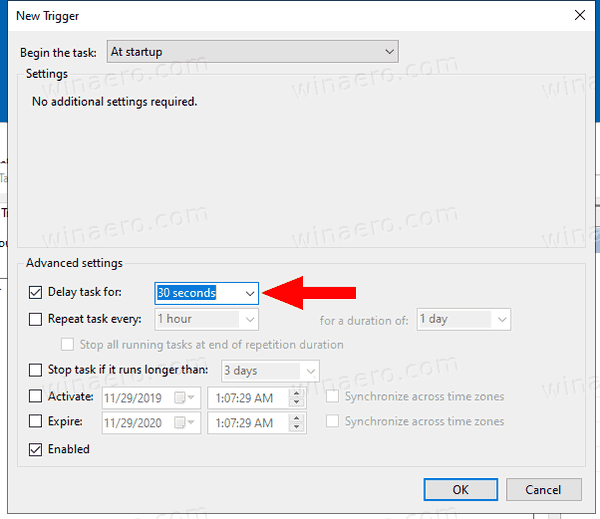
- If your VHD file is encrypted with BitLocker, you may need to add a delay to make a credential prompt appear after you sign in to Windows. Enable the Delay task for option on the New Trigger page, or edit the existing trigger. 30 Seconds should be enough.
- You can disable this task to temporarily stop mounting your VHD/VHDX file at startup. You can re-enable it when needed.
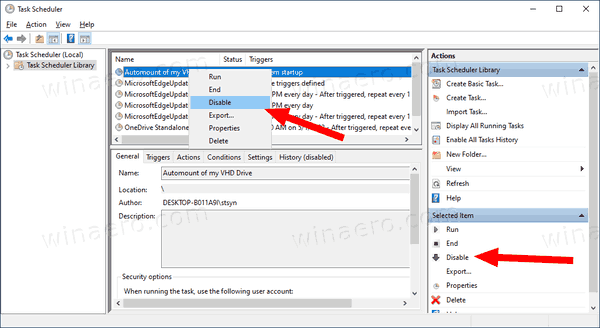
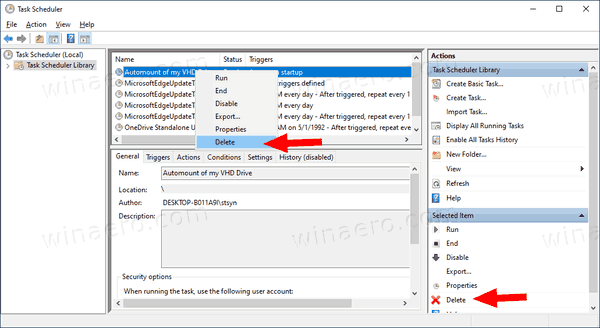
- To permanently disable the VHD file auto-mount, delete your task under Administrative Tasks > Task Scheduler > Task Scheduler Library.
That’s it.